
A coating can leave the mixer with the right colour and still fail through poor dispersion, incorrect thinning, contamination, excessive film build, or premature overcoating. Follow the material from resin and pigment charging through application, curing, measurement, and handover so you can identify the controls that produce a sound final film.
Key takeaways
- Read the TDS to confirm resin, solvent, components, and cure mechanism.
- Disperse pigments fully before checking viscosity, shade, and batch stability.
- Filter paint, prepare the surface, and control wet-film thickness during application.
- Record batch details, defects, repairs, and final acceptance at handover.
Start with the Resin System and the Technical Data Sheet
Before beginning the synthetic paints process, identify the resin system from the technical data sheet (TDS). “Synthetic paint” is a trade category covering alkyd, acrylic, epoxy, polyurethane, amino-resin, and other systems; the TDS must state the resin, solvent type, component structure, and cure mechanism.
| System | Structure and cure | Instruction boundary |
|---|---|---|
| One-pack alkyd or synthetic coating | Single container; cures through solvent release and resin reaction with air | Do not add a separate hardener unless the TDS expressly requires it |
| Two-pack epoxy or polyurethane | Base and hardener; cures through a chemical reaction after combination | Do not use one-pack dilution or drying instructions |
For a two-pack product, confirm these details before opening the containers:
- Component ratio, measured by weight or volume as specified
- Induction time, including the required waiting period after mixing
- Pot life and the temperature at which it applies
- Drying time, recoat window, and application temperature range
- Coverage figure and permitted thinner
- Storage temperature, shelf life, and container-sealing requirements
Pot life begins when the components are combined, not when application starts. Induction time is a separate waiting period and applies only when the TDS requires it; some products must be used immediately.
Mix only what you can apply within the pot life, because rising viscosity can close the usable window while the material still looks liquid. Never exchange one-pack and two-pack mixing or curing instructions.
How Pigment Dispersion Becomes a Stable Paint Batch
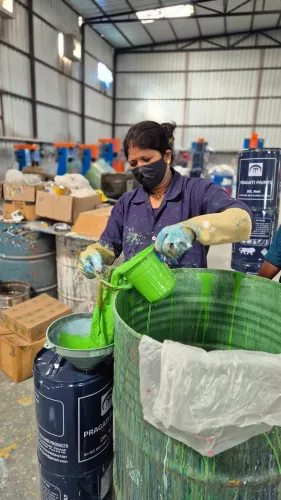
Charge the vessel with part of the binder vehicle, then wet pigments and extenders into that liquid before applying controlled shear. Dispersion is not simple stirring: it wets pigment surfaces and breaks agglomerates, developing colour strength and fineness of grind.
Poor dispersion causes weak colour, roughness, low gloss, high or unstable viscosity, flooding, floating, sedimentation, and erratic spray behaviour.
- Keep batch temperature within the technical data sheet’s limit; excess heat changes viscosity, solvent loss, and resin stability.
- Set mixing speed, shear, and time for the equipment and formulation. More speed is not automatically better: it can entrain air, overheat the batch, or damage colour development.
- Check viscosity using a named method, temperature, spindle or cup, shear condition, and sample preparation. An unqualified number cannot control synthetic paints mixing.
- Test fineness of grind, density, colour, settled pigment, and storage stability before release.
- Inspect the vessel, blades, tools, transfer lines, and containers for dried skins, rust, water, and remnants of another colour; record raw-material lots, additions, temperatures, speeds, times, test results, and operator details.
| Stage | Correct action | Main consequence if wrong |
|---|---|---|
| Dispersion | Part binder first; add pigment and extenders; grind under controlled shear | Agglomerates, weak colour, sedimentation |
| Let-down | Add remaining binder, specified solvent, additives, and tinting components | Poor flow, gloss, viscosity, or spray performance |
| Thinning | Add only the specified thinner, up to its permitted maximum | Excess thinner lowers volume solids, reduces milling efficiency, and can cause sag, slow drying, solvent entrapment, or poor adhesion |
Never add all thinner at the start: the pigment slurry becomes too dilute for efficient milling. Finish with the prescribed let-down sequence and retain the batch record.
Filtration, Filling, Storage, and Surface Preparation Before Application
A mixed batch moves safely toward the workpiece through final adjustment, filtration, identification, controlled storage, and disciplined surface preparation.
- Adjust viscosity, colour, density, and other release checks against the technical data sheet. Do not add thinner by habit; use only the specified thinner and permitted maximum.
- Filter the adjusted paint before transfer. The filter removes skins, gels, pigment agglomerates, and foreign matter that could block spray tips or roughen the finish.
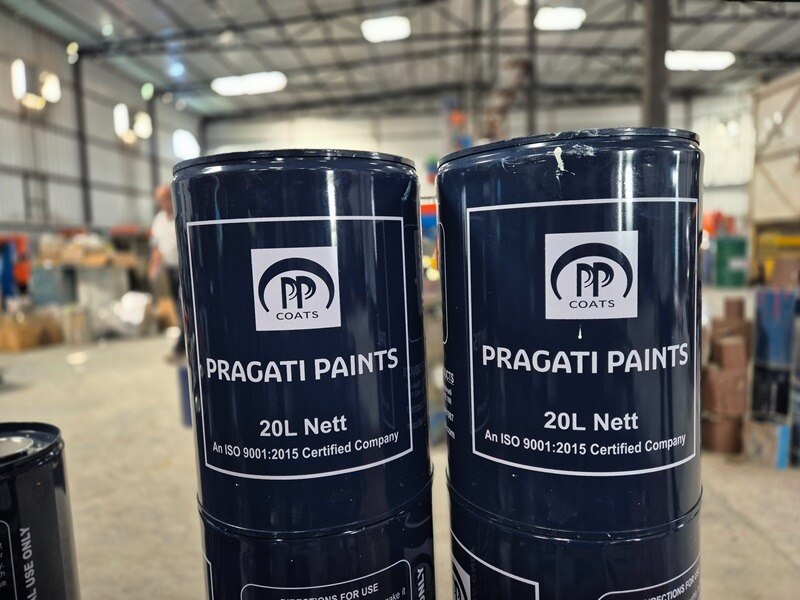
- Fill clean, compatible containers and check every label for product name, colour, batch number, net quantity, manufacture date, and storage instructions. Missing identification breaks traceability.
- Keep containers sealed at the data-sheet storage temperature and within the stated shelf life. Store them in the specified orientation; leakage, skin formation, settling, or blocked closures can make later synthetic paints application unreliable. Mix or agitate settled material only as the data sheet permits.
- Prepare steel, wood, or old paint in sequence: degrease first; remove rust, loose coating, and contamination; sand sound old paint to create a key; then remove dust. For blast-cleaned steel, record the ISO 8501-1 visual grade. Use Sa 2½ where the specification calls for very thorough blast-cleaning.
- Select a primer compatible with both the substrate and topcoat. Check substrate moisture, ambient temperature, relative humidity, and dew point before the synthetic paints process begins. Keep the substrate at least 3 °C above dew point during application and initial curing, without exceeding the product’s stated temperature or humidity limits.
Choose the Application Method and Control Wet Film
Choose the method before thinning: synthetic paints application changes dilution, overspray, film build, texture, and solvent release.
| Method | Best use | Coating result |
|---|---|---|
| Brush | Edges, repairs, and small areas | High control with brush marks; build film carefully at laps and corners. |
| Roller | Accessible broad surfaces | Fast coverage with characteristic roller texture; choose nap length for the surface and coating. |
| Conventional spray | Controlled finishing work | Atomisation provides finish control, but air pressure, fluid flow, dilution, overspray, and solvent release affect texture and film build. |
| Airless spray | Production speed and high output | Rapid coverage and heavy build with less atomising air; incorrect settings produce defects. |
Set airless equipment for the actual product, not for another “spray grade.” Match the tip orifice, fan angle, pressure, hose length, material temperature, viscosity, and volume solids to its data sheet. Excessive pressure creates overspray and dry spray; insufficient pressure causes tails and uneven atomisation.
Check wet-film thickness immediately after application with a wet-film comb. Press the comb into the wet coating, read the highest tooth covered and the next clean tooth, then adjust speed, overlap, or dilution.
Dry-film thickness equals wet-film thickness multiplied by the volume-solids fraction: 100 µm wet film at 60% volume solids gives about 60 µm dry film.
Measure cured thickness with a dry-film thickness gauge at the timing and locations stated by the data sheet or project specification. Those readings confirm synthetic paints finishing, while texture and overspray require separate visual inspection.
Curing, Defect Diagnosis, and a Documented Final Handover
The synthetic paints finishing stage is complete only when the film meets the specified cure, appearance, thickness, and inspection criteria—not merely when it feels dry.
| Condition | What it proves |
|---|---|
| Dry-to-touch | Surface no longer transfers under light contact |
| Through-cure | Film has developed the required hardness and solvent resistance |
| Valid recoat condition | Next coat can bond within the stated recoat window |
Recoat time changes with air and substrate temperature, film thickness, ventilation, humidity, thinner level, and the chemistry beneath the coating. Follow the product data sheet’s recoat window, not a clock time alone; dry-to-touch does not prove through-cure or intercoat adhesion.
Trace defects to the synthetic paints process before sanding and repainting:
- Sagging: excessive wet-film build, low viscosity, slow solvent release, or poor spray technique.
- Orange peel: poor atomisation, unsuitable viscosity, rapid solvent loss, or inadequate flow.
- Pinholes or bubbling: porous substrate, trapped air, solvent entrapment, or an overheated surface.
Verify appearance with measured gloss under ISO 2813 at the specified 20°, 60°, or 85° geometry. Gloss alone cannot prove coating quality because texture, colour, film thickness, overspray, and cure also affect the result.
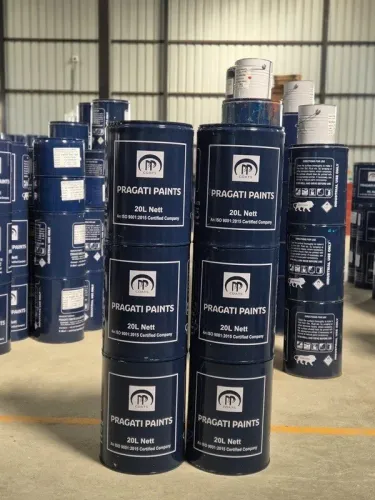
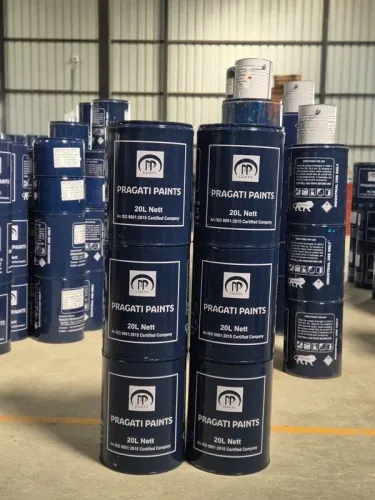
Close the handover with batch and application records, wet- and dry-film readings, colour and gloss results, specified adhesion or hardness results, defects and repairs, and the product data sheet. Evaluate Pragati Paints & Allied Products on correct system selection, compatible thinner, batch traceability, and usable technical documents—not colour alone.
Related products
 | Synthetic Paints & Primer Durable, Affordable & Versatile Coating Solution for All Surfaces Synthetic paints are among the most widely used industrial and household coatings... View product → |
 | Industrial QD Paint Synthetic Primer – The Perfect Base Coat for Smooth, Durable & Long-Lasting Painting Results When it comes to painting metal, wood, or general... View product → |
Frequently asked questions
What should you check before mixing synthetic paints?
Read the technical data sheet for the resin system, solvent type, component structure, mixing ratio, pot life, application method, and cure mechanism. Confirm that the product matches the surface and service conditions.
How does pigment dispersion affect synthetic paint quality?
The batch must disperse pigments into the resin and solvent until the colour, fineness, viscosity, and stability meet the product specification. Poor dispersion can cause settling, shade variation, roughness, and weak hiding.
What should you do before synthetic paints application?
Filter the mixed paint, use clean labelled containers, and follow the stated storage and induction requirements. Prepare the surface by removing oil, dust, rust, salts, loose coating, and moisture before applying the specified primer or paint.
How do you control wet film during synthetic paints application?
Choose brushing, rolling, conventional spray, or airless spray according to the TDS and job geometry. Measure wet-film thickness with a wet-film comb, then adjust application technique or dilution within the stated limits.
What should a final synthetic paints finishing handover include?
Check appearance, coverage, adhesion where specified, dry-film thickness, curing condition, repairs, and visible defects. Handover records should identify the product, batch number, application dates, surface preparation, environmental conditions, and inspection results.
Related products
 | Q.D. Paints & Primer Q.D. Paints Fast-Drying Industrial Coatings for Quick & Efficient Protection In fast-paced industrial environments, reducing downtime while ensuring high-quality... |
 | Rust Preventive Oil & Thinner P.U. Thinner High Performance Polyurethane Paint Thinner P.U. Thinner is a specialty solvent blend formulated for use with polyurethane (PU) paints, primers, and... |
 | Industrial PU Paint High-Performance Polyurethane Coating for Industrial Protection Industrial PU Paint Red IS:5:537 is a premium-quality 2K polyurethane coating... View product → |
 | Industrial PU Paint P.U. Primer (Polyurethane Primer) is a high-quality base coat specially formulated to enhance adhesion, improve surface uniformity, and increase the overall... |