
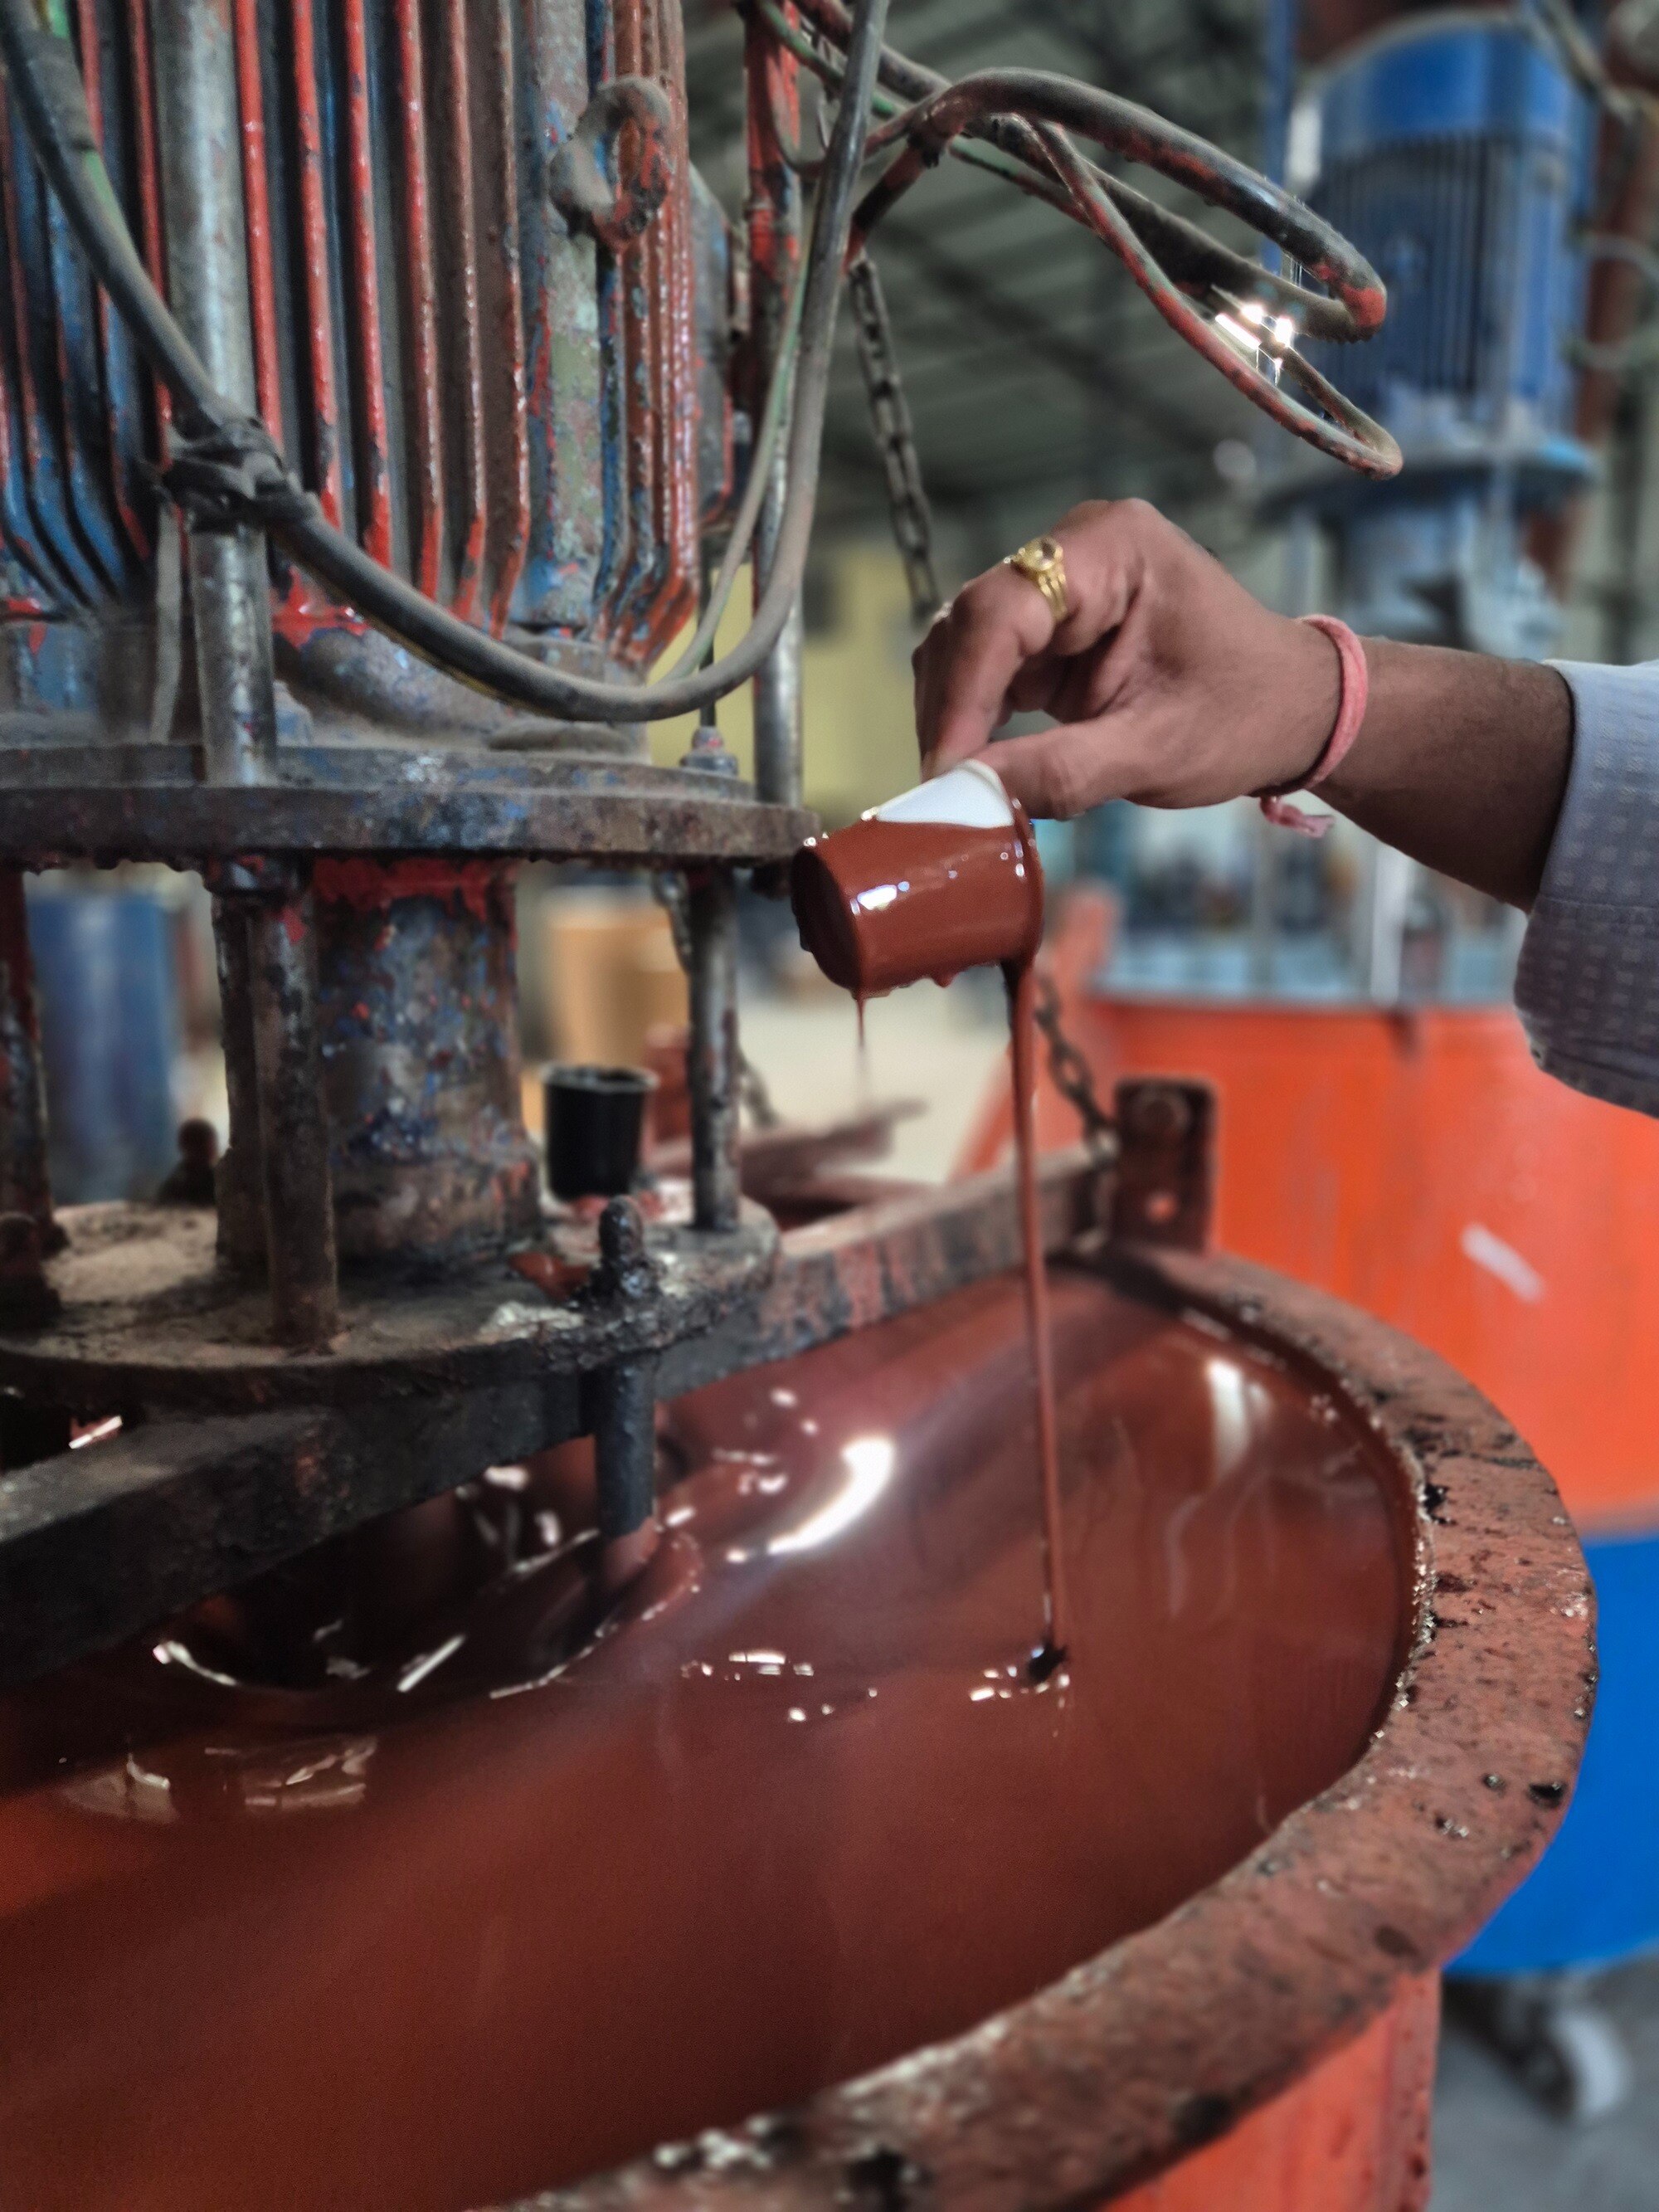
An epoxy primer job begins with a coating specification and ends only after the cured film passes thickness, appearance and recoat checks. You will be able to follow each decision from substrate inspection and preparation through mixing, application, curing and repair, and identify the records and measurements that prove the work is ready for the next coat.
Key takeaways
- Confirm surface cleanliness, abrasive profile and environmental limits before mixing.
- Use the product data sheet for component ratios, induction time and pot life.
- Measure wet-film thickness during application, not after the primer has cured.
- Quarantine failed areas, identify the cause and repair them before recoating.
What must be checked before epoxy primer application begins?
Read the project specification and product data sheet before approving the surface. Together they set the preparation grade, abrasive profile, primer dry-film thickness, application method, recoat interval, environmental limits and acceptance criteria for epoxy primer surface application.
Inspect steel or concrete for oil, grease, cutting fluid, soluble salts, mill scale, rust, old coating, moisture, weld spatter, laminations, sharp edges and crevices. Test concrete alkalinity with the method and pH limit named in the specification. Solvent-clean oil and grease before mechanical preparation; blasting can drive contamination into the surface and cause adhesion failure.
| Method | Surface condition created | What to verify |
|---|---|---|
| Solvent cleaning | Removes oil, grease and cutting fluid | No residue remains before preparation |
| Power-tool cleaning | Removes loose rust, scale and coating | Specified cleanliness grade is achieved |
| Abrasive blasting | Cleans and roughens the surface | Cleanliness and anchor profile meet the specification |
For carbon steel, check for Sa 2½ under ISO 8501-1 or SSPC-SP 10/NACE No. 2. This grade permits slight staining or shadows, but not loose rust, mill scale or coating.
Measure the blast profile with replica tape or a stylus instrument under ASTM D4417; a shallow profile weakens keying, while an overly coarse profile leaves peaks under-covered.
Check dust under ISO 8502-3 or ASTM D4414 and extract soluble salts under ISO 8502-6/ISO 8502-9, using project-specific limits. Record steel temperature, air temperature, relative humidity and dew point before coating. Keep steel at least 3 °C above dew point unless the manufacturer requires more; condensation can cause early corrosion and adhesion loss.
How are the epoxy primer components prepared and mixed?
The label and current technical data sheet control the mix; generic epoxy rules do not. Before the epoxy primer coating process begins, confirm the resin-to-hardener ratio, induction time, pot life, recommended thinner, volume solids, curing temperature, coverage calculation, and wet- and dry-film targets.
1. Check whether the ratio is given by weight or volume, then use the stated method. Do not estimate a partial kit unless the manufacturer provides a validated calculation; a small error can leave the film soft or poorly bonded.
2. Combine resin and hardener in the specified order. Scrape the container sides and bottom, then mix slowly until colour and consistency are uniform. Slow mixing limits air entrapment; whipping air into the primer creates bubbles and pinholes.
3. Observe the stated induction period before application. The pot-life clock starts when resin and hardener meet, not when the first brush or spray pass begins. Divide the batch to match the usable time, especially in warm conditions or for large industrial epoxy primer use.
4. Stop using material that has gelled or become unusually hot. Discard it; adding solvent will not restore it safely.
5. Add thinner only when the data sheet permits it and at the stated amount. Extra thinner, hardener or accelerator changes cure, adhesion, chemical resistance and volume solids, while altering coverage and film thickness.
Request the current technical data sheet and batch guidance from Pragati Paints & Allied Products before mixing, because product-specific instructions determine whether the material is ready for application.
Related products
 | Expoxy Paint Epoxy Primer – The Most Reliable Base Coat for Industrial Protection & Strong Adhesion When it comes to industrial painting, durability starts from... View product → |
 | Industrial Expoxy Paint Epoxy High Build Zinc Phosphate Primer Advanced Corrosion Protection for Industrial Steel Structures Industrial environments demand coatings that deliver long-lasting corrosion protection,... View product → |
How is the mixed primer applied and its wet thickness controlled?
Stripe coating is the first operation: brush or small roller primer onto welds, edges, corners, bolts, crevices and difficult-access areas before the main coat. These epoxy primer application steps prevent geometry from receiving less film than broad steel surfaces.
| Method | Best use | Control points |
|---|---|---|
| Airless spray | Production steelwork | Match tip size, pressure, hose length and spray distance to the product data sheet. |
| Conventional spray | Controlled smaller or detailed work | Set the correct nozzle and atomisation pressure; excessive atomisation can cause dry spray and low DFT. |
| Brush | Stripe coats, small areas and repairs | Work the primer into edges without leaving heavy brush marks or solvent pockets. |
| Roller | Stripe coats and small flat repairs | Select a compatible roller; excessive thinning reduces DFT and can trap solvent. |
For the epoxy primer coating process, apply parallel passes at a consistent gun distance and overlap. Slow down at edges, but do not create runs, sags or excessive buildup.
Wet-film thickness is the primer thickness immediately after application; dry-film thickness is the thickness after solvent loss and curing. Press a wet-film comb into still-wet primer and record readings across flat areas, welds and edges. Compare the pattern with the coverage calculation and specified DFT; one reading cannot prove uniformity.
Dry spray leaves a rough, poorly bonded surface. Missed areas, pinholes and thin film expose the substrate, while excessive thickness can trap solvent, crack or remain soft. Correct defects before curing or recoating under the product procedure.
How does the primer cure, and when can the next coat be applied?
A primer that feels dry can still retain solvent, lack cure strength, or fail under the next coat. Knowing what happens during an epoxy primer for application means separating four conditions:
| Condition | Meaning | Decision |
|---|---|---|
| Dry-to-touch | Surface no longer transfers to a finger | Do not assume recoating is safe |
| Hard dry | Film resists light handling | Check the product’s cure requirement |
| Ready-to-recoat | Film meets the stated minimum interval and surface condition | Apply the next coat within the permitted window |
| Fully service-cured | Film has reached its specified resistance to immersion, chemicals, abrasion or impact | Release for service |
Cure follows steel temperature, film thickness, humidity and formulation, not air temperature alone. Low steel temperature slows the epoxy reaction, while thick or shaded areas can remain soft beneath a dry surface.
Compare measured steel temperature and elapsed time with the technical data sheet’s minimum and maximum recoat window. If the maximum interval has passed, follow the sheet’s specified abrasion and cleaning method before overcoating; do not simply add another coat.
Cool, humid curing can produce amine blush, a waxy surface film. Remove it by the specified washing or cleaning method before the next coat.
Protect the epoxy primer surface application from rain, condensation, dust, impact and chemicals until the stated cure condition. After curing, measure DFT with the appropriate gauge and record readings under a defined procedure such as SSPC-PA 2. Inspect for:
- Holidays and pinholes
- Runs, sags and dry spray
- Contamination or missed stripe areas
- Poor edge coverage
Use a holiday detector only at a voltage suitable for the system; excessive voltage can damage a thin or incompletely cured film.
What happens when the finished primer fails an inspection?
A failed inspection ends in one of three decisions: accept the primer, repair it, or hold the surface before topcoating. For industrial epoxy primer use, apply these epoxy primer application steps:
1. Compare the inspection results with the specification. Confirm the DFT range, coating continuity, appearance, cure state and permitted recoat timing. Accept only when every criterion passes.
2. Record temperature, humidity, dew point, batch numbers, mix times, pot-life limits, preparation grade, abrasive profile, WFT readings and DFT readings. Keep the inspection record with the repair details.
3. Clean and feather thin or missed areas, then apply compatible primer within the approved repair procedure. Remove runs and sags by sanding or another approved preparation method, then recoat. Hold the work if the repair method or material is uncertain.
4. Let an under-cured film reach the specified cure condition; never bury soft epoxy under another coat. Remove dust or moisture contamination and recheck adhesion or appearance when the specification requires it.
5. Treat pinholes and holidays according to the coating system, using a compatible repair coat. Do not simply increase holiday-detector voltage, because unsuitable voltage can damage thin or incompletely cured epoxy.
6. Escalate excessive thickness to the coating inspector or manufacturer. Sanding can damage continuity, while solvent entrapment, cracking and delayed cure can affect the whole system.
Overcoat only when the surface meets the product’s recoat window and inspection requirements, not merely because the primer looks dry.
Frequently asked questions
What must be checked before epoxy primer application begins?
Check the project specification and product data sheet, then verify surface cleanliness, preparation grade, abrasive profile, surface temperature, air temperature, relative humidity, dew point and the specified dry-film thickness.
How are epoxy primer components prepared and mixed?
Confirm the component identities, batch numbers and shelf life. Mix resin and hardener at the manufacturer’s stated ratio, observe any induction time, and use the mixture within its stated pot life.
How is mixed epoxy primer applied and its wet thickness controlled?
Apply the mixed primer using the specified spray, brush or roller method. Check wet-film thickness with a calibrated wet-film comb while the coating is wet, and adjust application technique before the primer cures.
How does epoxy primer cure, and when can the next coat be applied?
Cure depends on resin chemistry, film thickness, temperature, humidity and ventilation. Apply the next coat only within the product data sheet’s recoat window and after confirming the primer is firm enough for overcoating.
What happens when the finished epoxy primer fails an inspection?
Record the defect, location, measured thickness and likely cause. Remove contamination, runs, pinholes, weak adhesion or under-thickness areas as specified, then repair and reinspect before proceeding.
Related products
 | Expoxy Paint Premium Anti-Corrosive Protection for Industrial Metal Surfaces When industries need the highest level of corrosion resistance and strong adhesion,... View product → |
 | Expoxy Paint High-Performance Protection for Steel Structures When it comes to long-term corrosion protection of metal surfaces, Epoxy Zinc Rich Primer is one of... View product → |
 | Industrial QD Paint Synthetic Primer – The Perfect Base Coat for Smooth, Durable & Long-Lasting Painting Results When it comes to painting metal, wood, or general... View product → |
 | Expoxy Paint Superior Barrier Protection with High Build Performance When industrial steel structures are exposed to harsh environments, selecting the right... View product → |