
Application begins before the first mixed litre reaches the steel: the surface, weather, components and equipment determine whether the primer bonds and cures correctly. By the end, you will know how to prepare the substrate, apply and measure the coating, interpret drying stages, and decide what the selected product’s technical data sheet must confirm.
Key takeaways
- Inspect steel for rust, soluble salts, oil and surface defects before priming.
- Mix the two epoxy components only in the specified ratio and induction time.
- Stripe-coat welds, edges, corners and bolts before covering broad steel surfaces.
- Check drying, recoat interval and dry-film thickness before approving the job.
How is steel prepared before epoxy HB MIO primer application?
Steel preparation starts with inspection, not priming. The epoxy HB MIO primer process fails when rust, salts or oil remain beneath a sound-looking film.
1. Record the steel condition against ISO 8501-1 rust grades: Grade A has adherent mill scale with little rust; B has mill scale beginning to flake; C has mill scale rusted away with slight pitting; D has extensive pitting.
Photograph defects and identify weld spatter, sharp edges, oil, grease, dust, loose mill scale, rust and abrasive residue.
2. Remove contamination before surface preparation. Degrease oil and grease, wash soluble salts, remove loose material and vacuum or blow away dust using clean, dry air. Test salts by ISO 8502-6 extraction and ISO 8502-9 conductivity, then compare the result with the project’s stated salt limit. Do not coat above that limit.
3. For severe atmospheric or immersion service, abrasive-blast to Sa 2½ under ISO 8501-1, also designated SSPC-SP 10/NACE No. 2. Check the resulting profile against ISO 8503; approximately 50–75 micrometres is only an example. The coating specification and product technical data sheet control the required range.
4. Do not treat every substrate alike. Blasted steel, mechanically prepared steel, existing sound coating and a local repair area each need a specified preparation grade, feathered coating edges and a clean, sound boundary. Mechanical preparation is not automatically equivalent to Sa 2½.
MIO lengthens the path for water and corrosive species through the film; it does not convert rust or compensate for poor epoxy HB MIO primer preparation.
What happens when the two epoxy HB MIO primer components are mixed?
Epoxy HB MIO primer preparation starts inside the mixing area by confirming the base and curing-agent identities, batch numbers, shelf life and exact volume or mass ratio in the selected technical data sheet.
Re-disperse settled MIO pigment in the base, add the complete curing-agent quantity, then mix mechanically at slow speed until material from the container wall and bottom is uniform. Excessive speed entrains air; poor mixing leaves soft or locally uncured areas.
Partial kits require accurate weighing or calibrated volume measurement. Estimating the remaining material changes the resin-to-hardener ratio, causing under-cure or over-cure; it is not a viscosity adjustment. Add thinner only when the data sheet permits it and only within its stated limit.
The mixing record shows what happens during epoxy paints HB MIO primer for application, including these separate time controls:
| Stage | Starts | Meaning |
|---|---|---|
| Induction time | After component mixing | Product-specific sweat-in period; some products require none |
| Pot life | Immediately after mixing | Usable working period, shortened by high material temperature, large mixed volumes and exothermic heat |
Before application, record steel temperature, air temperature, relative humidity and dew point. Keep steel at least 3°C above dew point, stay within the specified humidity limit and meet the minimum substrate temperature, including any restriction near 10°C. Condensation can cause poor wetting, flash rusting, cloudy film or adhesion loss.
How is epoxy HB MIO primer applied to steel and difficult details?
What happens during epoxy paints HB MIO primer application depends on controlling film thickness, not judging coverage by colour. The epoxy HB MIO primer process uses a separate detail pass before the main coat.
1. Apply a stripe coat by brush or narrow spray to weld toes, sharp edges, corners, bolt heads, cut-outs and crevices. These areas receive low spray coverage; excessive brushing can disturb MIO orientation and leave uneven marks.
2. Apply the main coat by airless spray when the specification requires a genuinely high-build film. Reserve brush or roller for stripe coating, small repairs and inaccessible geometry unless the technical data sheet permits wider use.
3. Follow the selected product’s tip size, spray pressure, fan width, reduction limit and maximum single-pass thickness. These settings are not universal. Use a wet-film comb during spraying; opacity and colour cannot prove the required build.
4. Plan wet film thickness with WFT approximately equals required DFT divided by volume-solids fraction. A 150 micrometres DFT target at 75% volume solids needs about 200 micrometres WFT before application loss.
5. Measure repeatedly across the pass and correct the technique rather than forcing one heavy coat. Excessive wet build, over-reduction or a single heavy pass can cause sagging, solvent entrapment, pinholes and slow cure.
Keep the spray gun perpendicular and overlap each stroke consistently. Allow the specified interval before recoating; trapped solvent under a fast second coat can blister or weaken adhesion.
How does epoxy HB MIO primer drying affect recoating and thickness checks?
1. Treat epoxy HB MIO primer drying as five separate milestones: set-to-touch, dry-to-handle, minimum recoat time, maximum recoat interval and full chemical cure. A surface can feel dry while its film remains too soft for handling or recoating.
2. Get the exact epoxy hb mio primer drying times from the selected technical data sheet, measured at the actual steel temperature, film thickness, relative humidity and ventilation. Lower steel temperatures slow crosslinking even when the surface feels dry, so touch alone cannot approve the next coat.
3. Recoat within the stated minimum-to-maximum window. Recoating before the minimum time can trap solvent or damage the first film; exceeding the maximum interval can require washing, removing amine blush and mechanical abrasion before recoating to restore adhesion.
4. After full chemical cure, measure dry-film thickness with a calibrated gauge at representative areas, including broad steel, edges, welds and repairs. Compare readings with the specified target and tolerance; colour and opacity do not prove thickness.
5. Stop and investigate cloudy or blushed film, tackiness, solvent bubbling, sagging, pinholes or poor intercoat adhesion. Record steel and air temperature, relative humidity, dew point, wet-film thickness, dry-film thickness, recoat time and cure status for the epoxy hb mio primer process.
What must be confirmed before you approve an epoxy HB MIO primer job?
Approval requires evidence that the applied film matches the selected coating system, not just the product name. Use this final checklist:
- Confirm the specified substrate preparation grade, ISO 8503 profile result, soluble-salt result against the project limit, and dust cleanliness.
- Confirm stripe coats cover weld toes, edges, corners, bolt heads, cut-outs and crevices.
- Verify the base-to-curing-agent ratio, induction time, pot-life start time, and thinner percentage against the current technical data sheet.
- Record steel temperature, air temperature, relative humidity and dew point. Steel must remain at least 3°C above dew point, and humidity must stay below the product limit.
- Check WFT during application and DFT after curing against the specified target and tolerance, including edges and repairs.
- Record sagging, pinholes, bubbling, blush, dry spray, missed areas and poor adhesion; confirm minimum and maximum recoat timing.
Stop work if steel is at or below dew point, humidity exceeds the product limit, contamination appears after preparation, mixed material has passed its pot life, or the film is outside the specified thickness. Epoxy HB MIO primer drying and epoxy HB MIO primer preparation limits come from the selected system.
Pragati Paints & Allied Products can help source the primer and compatible thinner, but request the current technical data sheet, safety data sheet, batch details and application support; product names alone cannot establish nozzle settings, DFT, drying times, salt limits or recoat windows.
Related product
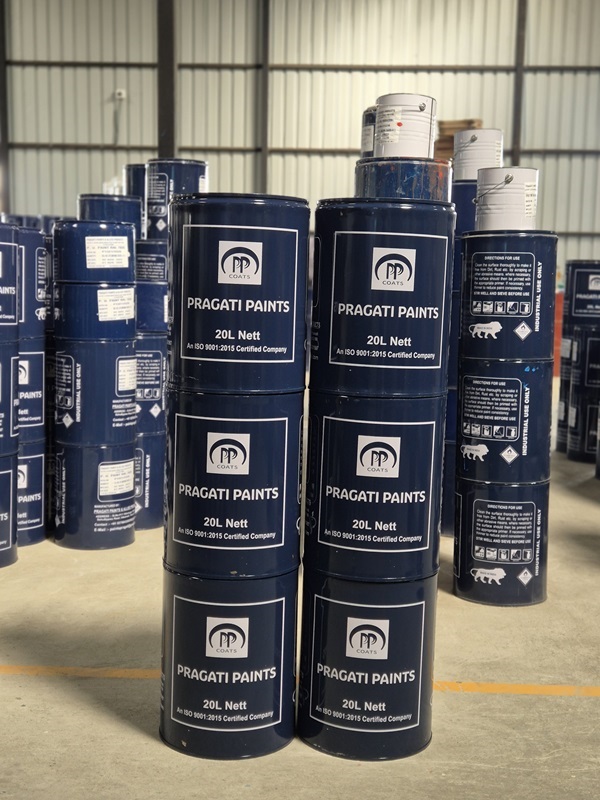 | Expoxy Paint Superior Barrier Protection with High Build Performance When industrial steel structures are exposed to harsh environments, selecting the right... View product → |
Frequently asked questions
How should steel be prepared before epoxy HB MIO primer application?
Inspect the steel first, then remove rust, soluble salts, oil and other contaminants before priming. Confirm the specified surface-cleanliness and profile requirements before application.
What happens when epoxy HB MIO primer components are mixed?
The resin and hardener begin a chemical curing reaction. Mix them in the specified ratio, observe the required induction time and use the mixture within its stated pot life.
How is epoxy HB MIO primer applied to difficult steel details?
Apply the primer to prepared steel using the specified method, then stripe-coat welds, edges, corners, bolts and other difficult details to improve coverage.
How does drying affect epoxy HB MIO primer recoating and thickness checks?
Allow the primer to reach the specified drying stage before recoating. Check the recoat interval, ambient conditions and dry-film thickness before approving the coating.
What must be confirmed before approving an epoxy HB MIO primer job?
Confirm surface preparation, component mixing, coverage of difficult details, drying and recoat timing, and measured dry-film thickness against the project specification.