
Blistering, peeling, cracking, rust bleed-through and soft films do not all point to the same fault: the cause may sit in the substrate, coating interface, application process or service environment. By the end, you will be able to map the damage, collect useful evidence, choose the right recovery scale and prevent a superficial repair from failing again.
Key takeaways
- Map cracks, blisters, peeling and wear before removing the epoxy.
- Test moisture, contamination and adhesion at the failed interface.
- Check resin ratios, film thickness, mixing and cure conditions.
- Choose spot repair, removal or replacement based on the active failure cause.
Read the Damage Pattern Before You Repair the Epoxy
Map the damage before removing or patching the epoxy. Record its location, size, shape and direction, then test representative areas with adhesion or pull-off testing and examine the failed interface destructively. A superficial patch can leave the active cause of epoxy paints problems untouched.
- Identify a sharp dent, crushed edge or isolated star-shaped crack as impact damage. The coating may be sound around the mark; repair the substrate and test nearby adhesion before recoating.
- Trace chemical attack by its splash outline, softened or sticky film, colour change, loss of gloss or widespread blistering near a process area. A solvent wipe and hardness comparison can expose softening, but identify the chemical exposure before selecting a replacement system.
- Treat domed blisters, whitening, peeling from concrete and damp edges as moisture clues. Test concrete rather than trusting its appearance: ASTM F2170 measures internal relative humidity, ASTM F1869 measures vapour emission, and ASTM D4263 uses a plastic-sheet indication.
- Separate corrosion from coating-only failure by exposing the steel beneath a rust blister or rust bleed-through. Rust jacking, pitting and failure along welds or edges indicate corrosion beneath the film, while uniform thinning, scuffing and reduced gloss point to ordinary wear.
- Classify the detached film as adhesive failure at the interface, cohesive failure within epoxy, cohesive failure in concrete or mixed failure. That classification is the core of epoxy paint failure troubleshooting.
Pinholes and holidays need electrical testing in immersion or corrosion-critical service; choose wet-sponge or high-voltage testing from the coating thickness and specification. A waxy, cloudy surface after humid, cool curing suggests amine blush, not wear.
Check Moisture, Contamination and Surface Preparation at the Interface
Start at the failed interface, not the visible patch. Map the damage, take representative pull-off or adhesion tests, then examine the detached face. Adhesive failure at the coating boundary points to contamination or poor preparation; cohesive failure in concrete points to weak substrate.
For epoxy coating damage recovery, record these checks before cleaning or recoating:
- On concrete, measure internal relative humidity under ASTM F2170, moisture-vapour emission under ASTM F1869, or use the ASTM D4263 plastic-sheet test. Blistering, whitening and delamination with elevated readings indicate moisture beneath the film.
- Compare the prepared concrete with the specified ICRI Concrete Surface Profile number. Laitance, curing compound, old sealer, dust or weak concrete require preparation under SSPC-SP 13/NACE No. 6; a floor that merely looks rough is not proof of a sound bond.
- On steel, inspect for oil, grease, salts, mill scale, rust and dust, then verify the specified cleanliness and surface profile. Salt contamination can remain invisible while driving corrosion and loss of adhesion.
| Check | Finding | What it indicates |
|---|---|---|
| Substrate temperature | Within 3°C of dew point | Condensation risk; stop coating and recheck |
| Air and surface readings | Record temperature, relative humidity and dew-point spread | Use ISO 8502-4 to assess condensation probability |
| Interface face | Clean coating face versus dusty, oily or rusty substrate face | Adhesive failure from contamination or inadequate preparation |
| Film continuity | Pinholes or holidays revealed by specified wet-sponge or high-voltage testing | Hidden paths for water or corrosion; excessive voltage can damage the film |
Find Application Errors in Mixing, Thickness and Cure
The fastest proof of application error is a matched record: batch numbers, component weights, solvent additions, wet-film readings, dry-film readings, and site conditions at each coat. Missing entries make epoxy paint coating problems harder to separate from substrate or service damage.
| Record or measurement | What it exposes | Failure clue |
|---|---|---|
| Mix ratio by mass or supplied unit | Incorrect resin-to-hardener proportion | Soft film, delayed cure, amine-rich surface |
| Induction time and mixing log | Insufficient waiting or incomplete dispersion | Wrinkling, uneven cure, cloudy or greasy surface |
| Thinner type and added quantity | Excess solvent or incompatible thinner | Solvent entrapment, pinholes, low build |
| Wet-film and dry-film thickness | Over-application or inadequate coverage | Cracking, extended cure, holidays or early wear |
| Recoat time against product limits | A missed temperature-dependent window | Peeling between otherwise sound coats |
| Substrate and air temperatures, relative humidity, dew-point spread | Condensation or cold-cure conditions | Whitening, blush, poor adhesion or slow hardening |
Compare wet-film readings taken during application with final dry-film readings at several grid points, not only the average. Excessive dry-film thickness can trap solvent and leave the centre soft while the surface feels cured.
For tanks and corrosion-critical steel, inspect the finished film with the specified low-voltage wet-sponge or high-voltage holiday detector. Use the voltage and method stated for that coating thickness; excessive voltage can damage sound epoxy and create false defects. Check the batch label, technical data sheet, applicator log and calibrated-gauge records before approving a repair.
Recover the Damaged Area in a Controlled Sequence
Isolate the damaged zone before cleaning it. Stop water, chemical contact, forklift traffic or abrasive service, then photograph the defect with a scale and mark its boundaries. Record location, exposure, date, coating batch, substrate type and the event that caused the damage. This evidence prevents a cosmetic patch from hiding an active failure.
1. Map blisters, peeling, cracks, rust bleed-through and delamination. Take representative adhesion or pull-off readings, then examine failed samples destructively. Classify the break as adhesive at an interface, cohesive within the coating, cohesive in concrete or mixed; each result changes the repair scope.
2. Remove loose coating and extend the inspection to sound edges. Test for oil, salts, dust, curing compounds, laitance, weak concrete, old sealer and moisture. For concrete, specify preparation under SSPC-SP 13/NACE No. 6 and record the ICRI concrete surface profile, such as CSP 3 or CSP 5, rather than saying “roughened.”
3. Abrade, blast or mechanically prepare the exposed substrate until it meets the selected system’s cleanliness and profile requirement. Treat steel corrosion, repair damaged concrete and leave moving cracks or expansion joints as movement details, not rigid epoxy-filled seams.
4. Before recoating, record substrate temperature, air temperature, relative humidity and dew-point spread. Do not apply near condensation risk; ISO 8502-4 provides a method for estimating it. Control humidity and ventilation, especially during Mumbai monsoon or overnight work.
5. Recoat only after the surface is clean, dry and sound. Mix the specified components, observe the recoat window and verify film thickness; use a compatible UV-resistant topcoat outdoors when colour retention matters. This sequence makes epoxy coating damage recovery evidence-led and strengthens epoxy paint failure troubleshooting.
Choose Spot Repair, Removal or System Replacement
Use spot repair only when adhesion testing shows a sound surrounding film, corrosion is localised, and the substrate is dry and stable. A pull-off test should identify adhesive failure at an interface, cohesive failure within the coating, cohesive failure in concrete, or mixed failure; patching over an active interface failure simply moves the delamination edge.
| Scope | Evidence | Material decision |
|---|---|---|
| Spot repair | Sound surrounding adhesion, isolated impact or wear, no underfilm rust or moisture | Remove to firm edges, prepare the exposed substrate, and reinstate the compatible primer and topcoat |
| Removal and rebuild | Poor pull-off values across the area, amine blush, widespread peeling, or corrosion beneath the film | Strip the unsound system, remove rust or salts, correct preparation, and recoat the full affected zone |
| System replacement | Repeated failure, chemical or immersion exposure beyond the existing specification, UV chalking, or movement-related cracking | Select a new compatible system, such as a corrosion-control primer with an appropriate epoxy build and UV-resistant topcoat |
For epoxy paints in Mumbai, measure steel or concrete temperature, air temperature, relative humidity, and dew-point margin before and during application. Monsoon and overnight condensation can slow cure, create amine blush, and trap moisture; use ventilation or dehumidification instead of relying on air temperature.
Test concrete with ASTM F2170, ASTM F1869, or ASTM D4263 when moisture is suspected.
Recurring epoxy paints problems deserve a system review, not repeated patches. Pragati Paints & Allied Products can help compare an epoxy primer, zinc-rich primer, or immersion-grade coal-tar epoxy against the actual salt, chemical, UV, and moisture exposure.
Related products
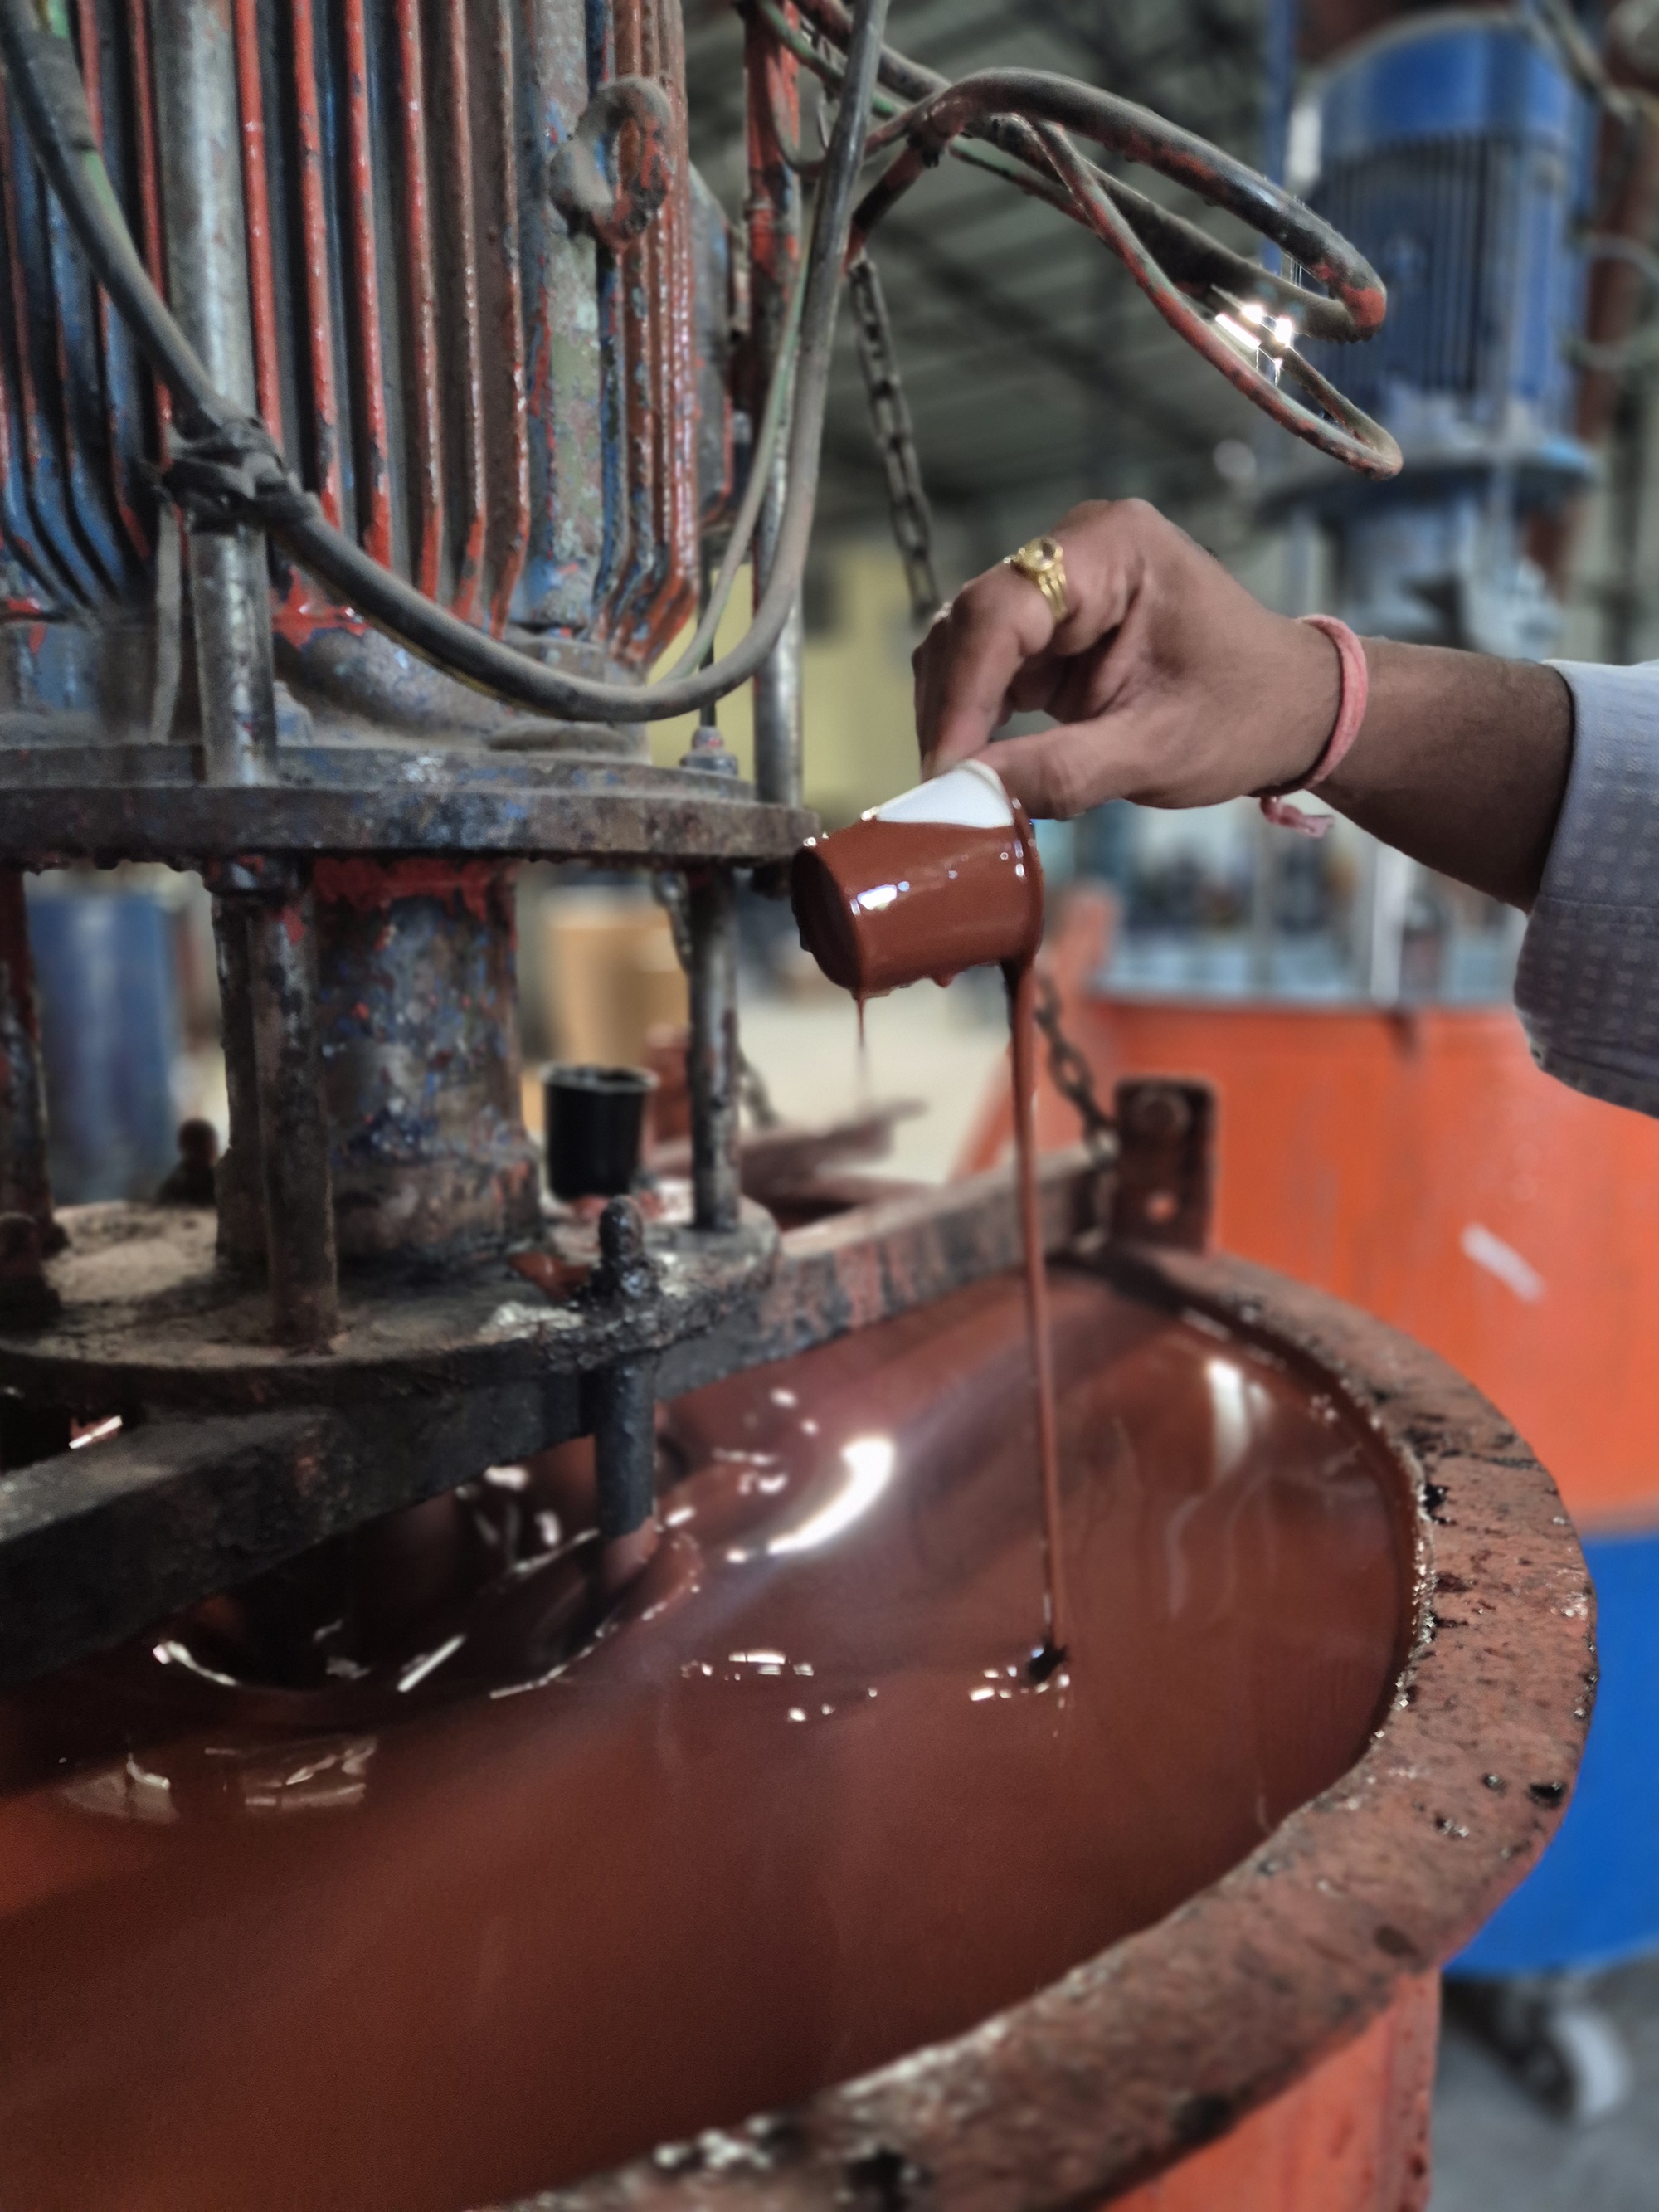 | Expoxy Paint Epoxy Paints –The Ultimate High-Performance Coating for Industrial & Commercial Protection Epoxy paints have become the top choice for industries,... View product → |
 | Expoxy Paint Epoxy Primer – The Most Reliable Base Coat for Industrial Protection & Strong Adhesion When it comes to industrial painting, durability starts from... View product → |
Frequently asked questions
How do you diagnose epoxy coating damage before repair?
Record the damage location, size, shape and direction, then test representative areas and examine the failed interface.
What interface conditions cause epoxy paint coating problems?
Moisture, contamination and inadequate surface preparation can prevent the epoxy from bonding to the substrate.
Which application errors contribute to epoxy paint failure?
Incorrect mixing, excessive or insufficient thickness and incomplete curing can weaken the coating system.
When should you spot-repair epoxy instead of replacing the coating system?
Use spot repair when the failure is isolated and its cause is corrected; remove or replace the system when damage is widespread or the active cause remains.
Related products
 | Expoxy Paint Heavy-Duty Protection for Steel & Concrete in Immersed Conditions When steel or concrete structures are continuously exposed to water, chemicals, or... View product → |
 | Expoxy Paint High-Performance Protection for Steel Structures When it comes to long-term corrosion protection of metal surfaces, Epoxy Zinc Rich Primer is one of... View product → |
 | Industrial Expoxy Paint Epoxy High Build Zinc Phosphate Primer Advanced Corrosion Protection for Industrial Steel Structures Industrial environments demand coatings that deliver long-lasting corrosion protection,... View product → |
 | Industrial PU Paint Premium Polyurethane Coating for Heavy-Duty Industrial Protection Industrial PU Paint RAL 9005 is a high-performance 2K polyurethane coating... View product → |