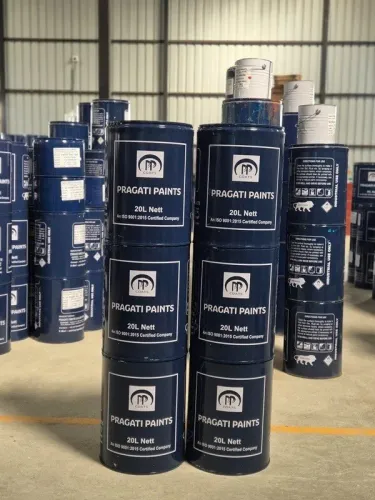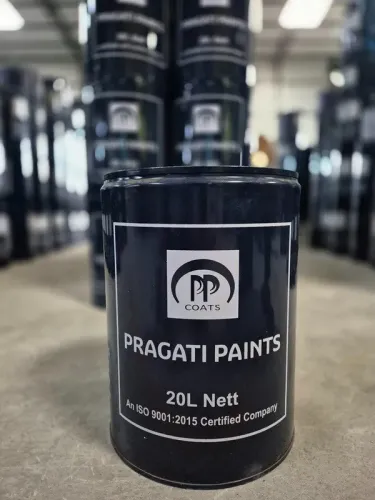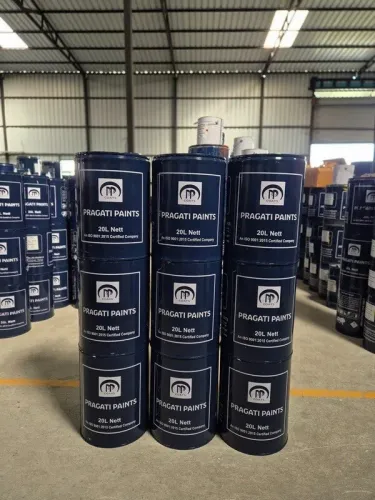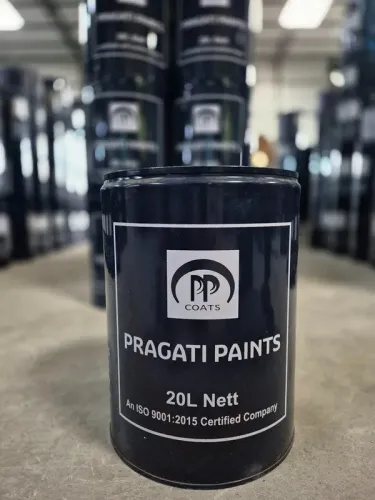

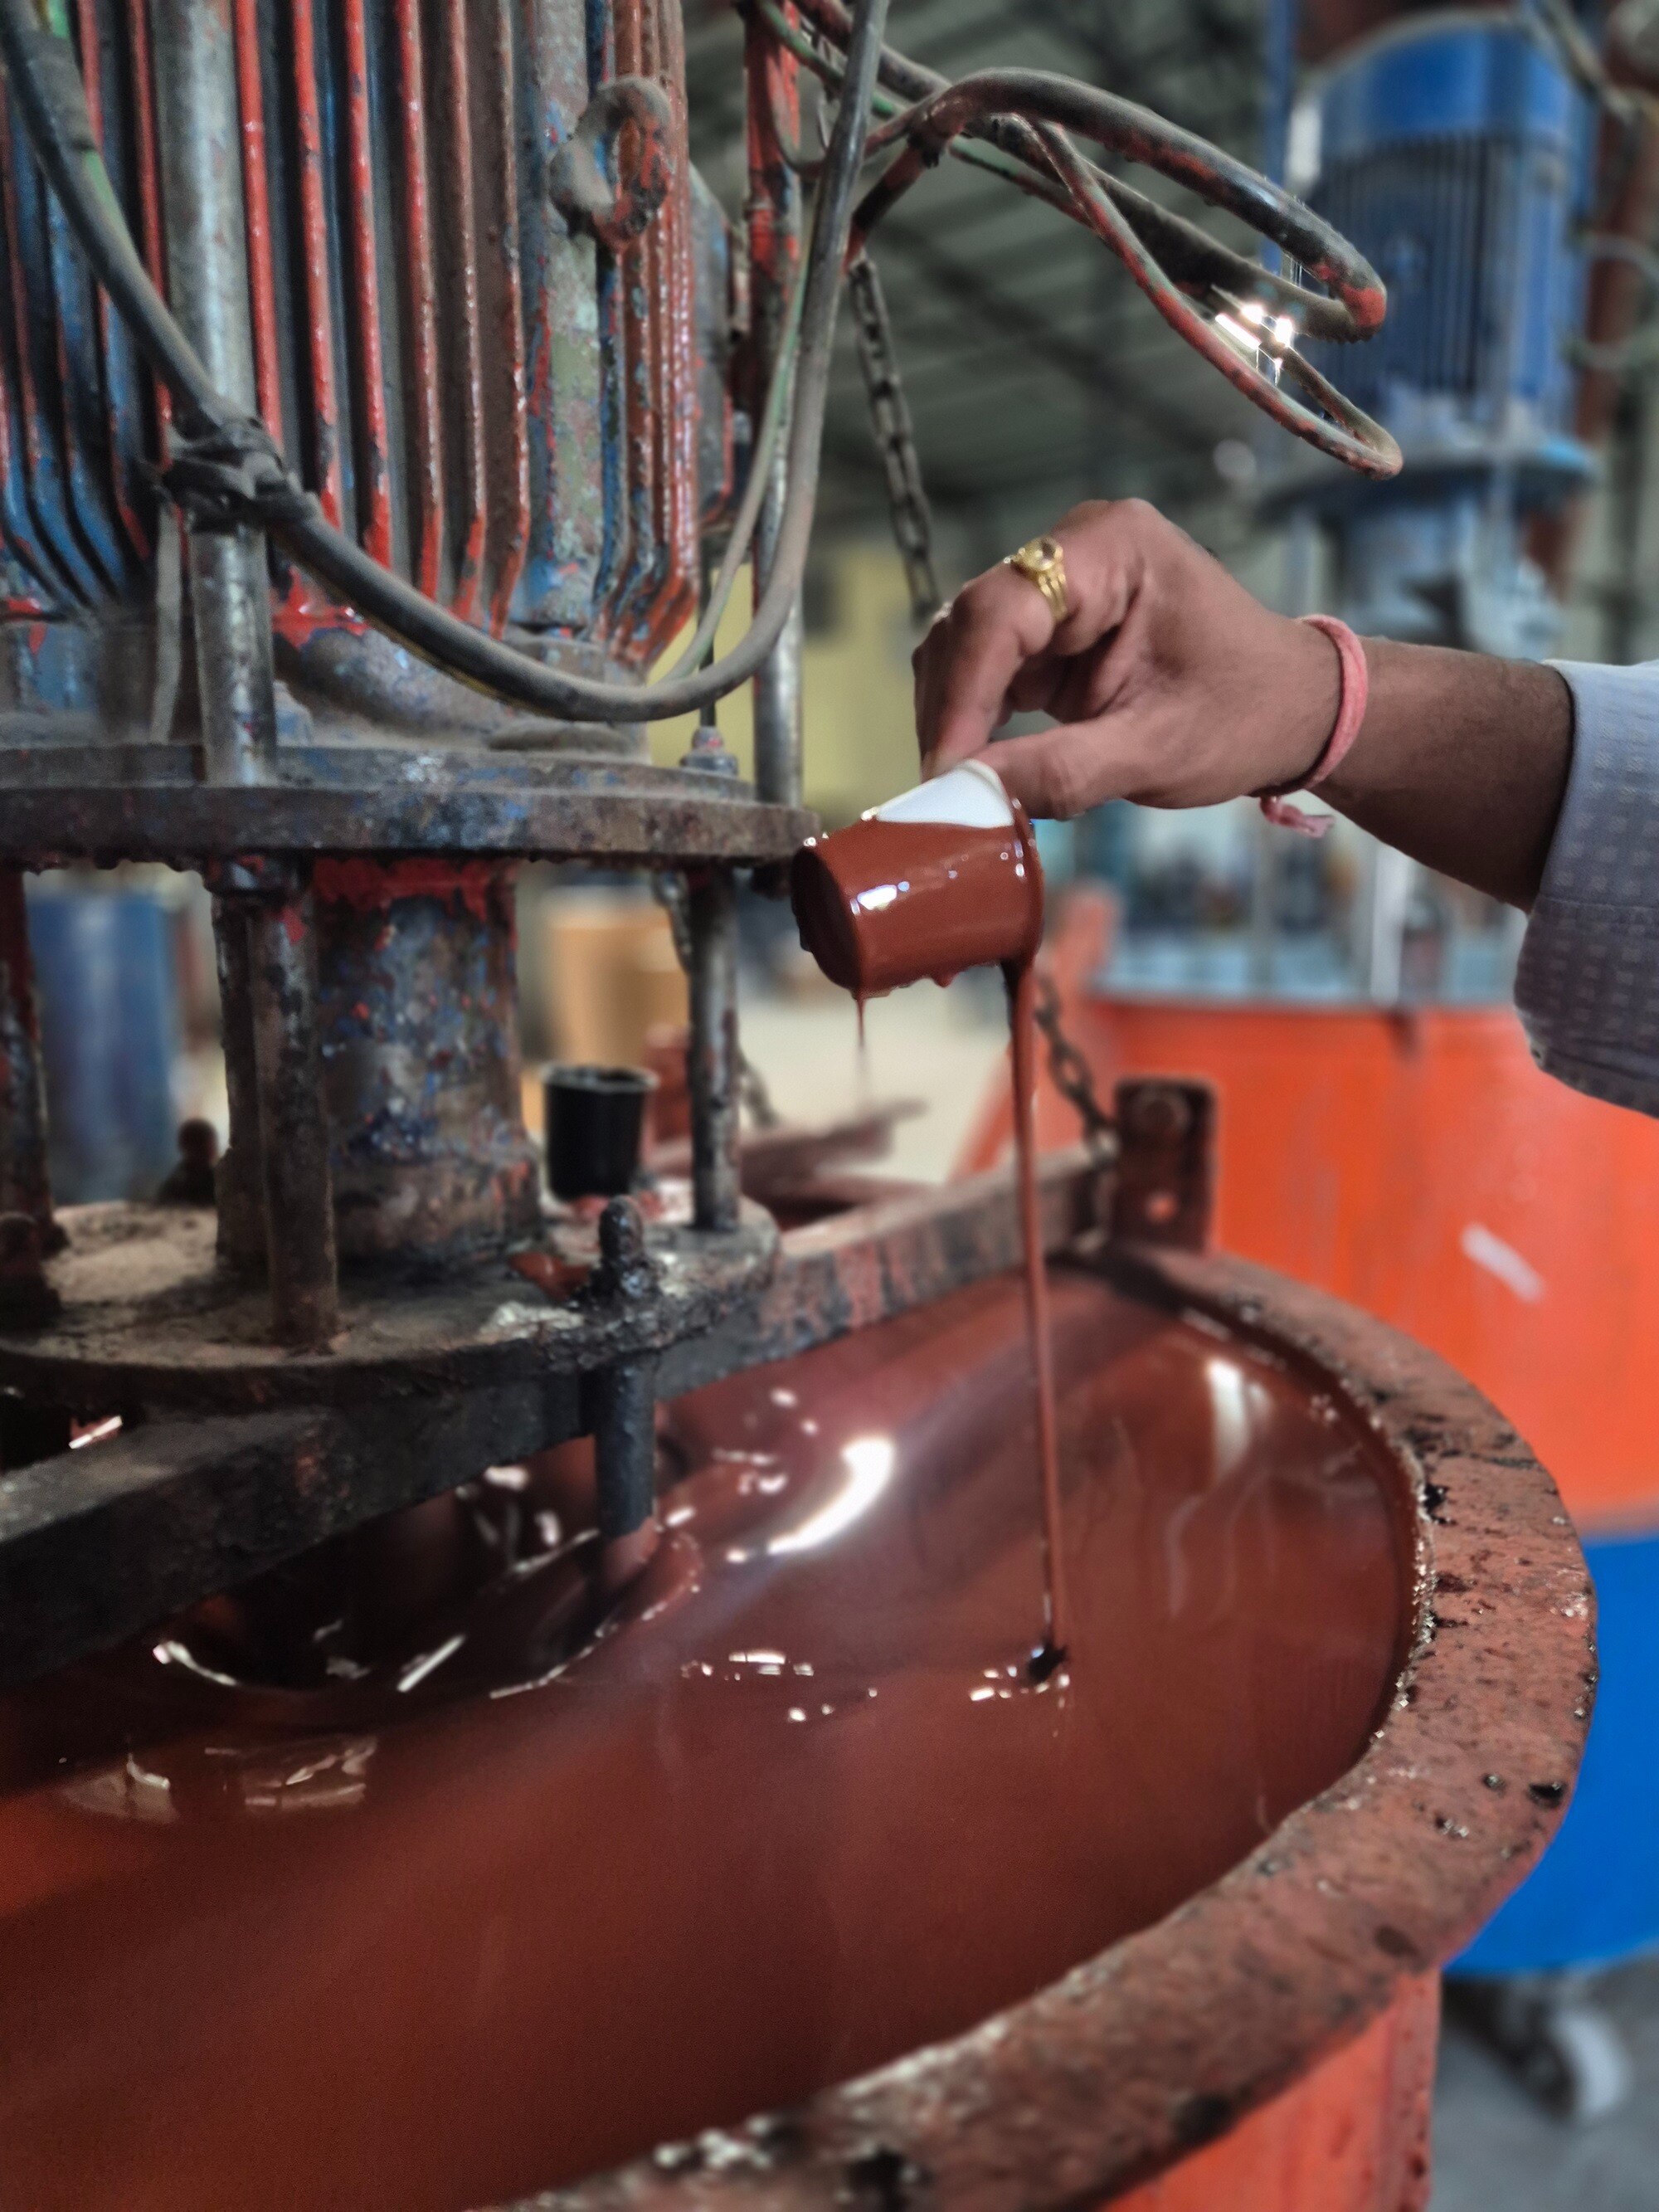
A repair-grade epoxy clear lacquer is more than a transparent liquid in a tin: its contents can include resin, curing agent, solvents, reactive diluents and performance additives, followed by a cured film with defined application limits. By checking the pack contents, technical data sheet, substrate requirements and repair method, you can decide whether the coating belongs on the damaged area or whether primer, filler or a UV-stable topcoat must come first.
Key takeaways
- Check whether the repair pack is one-pack or two-pack before mixing or applying.
- Compare cure time, recoat window, film thickness and chemical resistance with the repair conditions.
- Remove rust, oil and loose coating before deciding whether primer or filler is needed.
- Choose another coating when UV exposure, flexibility or heat exceeds the lacquer’s data sheet limits.
What is inside an epoxy clear lacquer repair pack?
A repair pack is either a one-pack coating or a two-pack system. In a two-pack system, Part A contains epoxy resin, reactive diluents and additives; Part B contains the curing agent, such as an amine, polyamide or amidoamine.
Never assume a 1:1 mix: use the manufacturer’s stated resin-to-hardener ratio, because an incorrect proportion leaves the film soft, brittle or uncured.
The practical question “what does epoxy paints for clear lacquer include” usually refers to these contents:
- A clear resin component, often in a metal tin or plastic container.
- A separate hardener or curing-agent container for two-pack products.
- Solvent or thinner, either already blended into the coating or supplied separately for a specified application method.
- Non-colouring additives, including defoamers, flow and levelling agents, wetting agents, catalysts, UV absorbers, light stabilisers or transparent mineral filler.
- Instructions stating the mixing sequence, induction time, pot life, application method and cleaning solvent.
Searches for epoxy paints lacquer contents can mislead because “lacquer” does not identify one standard formulation. Conventional lacquer forms mainly as solvent evaporates; an epoxy clear coating forms its final film through resin curing. The word clear also does not mean additive-free or optically water-white.
Ask for the resin chemistry, curing mechanism, mix ratio and intended substrate before opening the pack.
Which technical data decides whether the coating will work?
Before mixing or applying, obtain the product data sheet and confirm the resin chemistry, curing mechanism, pack type and intended substrate. A two-component system needs the exact Part A-to-Part B ratio; never infer 1:1 from another epoxy. The epoxy clear lacquer details must also state whether thinning is permitted and which thinner is approved.
| Property | What to obtain | Why it decides the repair |
|---|---|---|
| Pack and mix | One-pack or two-pack; resin-to-hardener ratio by weight or volume | An incorrect ratio leaves a soft, tacky or brittle film |
| Application | Viscosity, density, solids content, approved thinner and recommended dry-film thickness | These control flow, solvent release, coverage and final protection |
| Working time | Pot life at a stated temperature, touch-dry time and chemical recoat window | Exceeding pot life causes poor levelling; recoating too late can cause delamination |
| Cure | Full-cure time and temperature or humidity limits | Handling strength does not prove chemical resistance or complete cure |
| Substrate | Approved surfaces, primer requirement and surface profile | A clear film cannot compensate for weak adhesion to steel, concrete, wood or old coating |
| Performance | ASTM D7091 thickness, ASTM D3359 or D4541 adhesion, ASTM D523 gloss | These measurements verify different properties and cannot replace one another |
Ask for values measured at a stated temperature, commonly 23°C, because viscosity, pot life and drying change with heat and humidity. Check the specified coverage against your target film thickness, then calculate the quantity after allowing for surface roughness and application loss.
If the data sheet omits the mix ratio, recoat window or substrate approval, do not apply the coating to a visible repair.
Which surfaces need preparation, primer or filler first?
A clear repair fails at the weakest layer beneath it, not necessarily within the epoxy lacquer repair coating. Match the preparation to the substrate, then decide whether the coating needs a primer or a levelled surface.
| Surface | Prepare first | Primer or filler decision |
|---|---|---|
| Bare steel | Degrease, remove rust, and abrasive-blast; SSPC-SP 10/NACE No. 2 is a near-white standard | Use an epoxy primer when corrosion protection or the product data requires it; fill pits with compatible epoxy filler |
| Existing coating | Check adhesion, remove loose film, feather edges, abrade sound coating, and clean dust | Apply directly only after a compatibility test; prime exposed steel |
| Concrete | Remove laitance, weak material, oil, salts and dust; confirm the surface is dry | Use the specified epoxy primer; fill cracks and voids with compatible repair material |
| Wood | Remove failing finish, sand to a sound surface, and remove dust and moisture | Seal porous wood with the specified primer; use filler for holes or open defects |
| Damaged decorative surface | Clean, abrade glossy areas, and remove peeling or chalking layers | Fill scratches or gouges, sand flush, then test for colour, gloss and adhesion compatibility |
Use this sequence: degrease, remove failed material, feather the edge, profile sound coating, remove dust, and check for condensation. Keep steel or concrete above the product’s stated dew-point separation and within its humidity and temperature limits. A filler levels damage; it does not replace primer on exposed metal or a sound substrate.
How do you apply a small clear repair without visible defects?
A small clear repair stays invisible only when the new film matches the old coating in adhesion, thickness, gloss and texture. Test the epoxy lacquer repair coating on a hidden edge or spare prepared panel; check clarity, colour, adhesion and gloss after full cure before touching the visible area.
Mix Part A and Part B at the exact resin-to-hardener ratio on the technical data sheet. Do not assume 1:1. Scrape the pack sides, mix slowly to avoid air, observe the stated induction time and use the mixture within its pot life.
Apply the specified method—fine brush, short-nap mini-roller or spray—and feather the perimeter into sound coating. Keep the wet and dry film within the stated limits, using a wet-film comb during application; excessive thickness extends cure and traps solvent. Apply the next coat only inside the stated recoat window.
Early recoating can entrap solvent, while late recoating can reduce intercoat adhesion.
Match each defect to its likely cause:
- Runs: excessive wet film, slow solvent evaporation or overworking.
- Pinholes: entrained air, porous substrate or solvent escaping from a thick film.
- Cloudiness: moisture, incompatible thinner, poor mixing or solvent entrapment.
- Gloss mismatch: different film thickness, surface texture or ageing between the repair and surrounding coating.
Orange peel points to excessive viscosity or poor atomisation. Silicone, oil or wax contamination causes craters. These epoxy clear lacquer details matter because a spot repair cannot hide sanding scratches, stains or an aged gloss difference; feather a larger area or recoat the full panel when appearance is critical.
When is epoxy clear lacquer the wrong repair choice?
A clear epoxy repair is the wrong choice for an exposed exterior unless supplier data supports sunlight service or a compatible UV-stable topcoat protects it. Aromatic epoxy can yellow, chalk and lose gloss while remaining bonded.
It is also a poor choice when equipment must return quickly. A product with a long pot life can still require hours or days to reach handling, recoat and full-cure status; touch-dry does not mean chemical resistance.
Rigid cured epoxy does not follow repeated flexing. Choose a coating specified for flexible plastic, rubber or moving joints instead; cracking or loss of adhesion will expose the repair.
Do not accept “chemical resistant” without named chemicals, concentration, temperature and exposure duration. Ask for a test method and result, not “durable.”
Before selecting, ask the supplier for:
- Resin chemistry; one-pack or two-pack format; Part A and Part B contents, including hardener, solvent and additives.
- Resin-to-hardener ratio, solids by volume, viscosity, density, pot life, touch-dry, recoat and full-cure times.
- Permitted substrate, application method, and wet- and dry-film thickness limits.
- UV exposure data or the specified topcoat, plus resistance results for the actual chemical and temperature.
- ASTM D7091 thickness, ASTM D3359 or D4541 adhesion, ASTM D4060 abrasion and ASTM D523 gloss results.
The question “what does epoxy paints for clear lacquer include” should resolve to a clear resin, curing agent, solvent or thinner, additives and the cured film. The epoxy paints lacquer contents alone do not prove suitability.
Pragati Paints & Allied Products is worth asking for the product data sheet and safety data sheet rather than relying on the word “lacquer.”
Related product
 | Expoxy Paint Premium Transparent Protective Coating for Industrial & Decorative Applications Epoxy Clear Lacquer is one of the most trusted transparent coatings... View product → |
Frequently asked questions
What does an epoxy clear lacquer repair pack include?
A one-pack product contains a ready-to-use coating. A two-pack system contains Part A epoxy resin with reactive diluents and additives, plus Part B curing agent such as amine, polyamide or amidoamine.
Which technical data decides whether epoxy clear lacquer will work?
Check substrate compatibility, mixing ratio, pot life, touch-dry and full-cure times, application temperature, recoat window, recommended dry-film thickness, chemical resistance and UV limitations.
Which surfaces need preparation, primer or filler before epoxy lacquer?
Clean away oil, salts, dust, rust and loose paint. Abrade sound coatings, use a compatible primer on exposed metal when specified, and apply filler where pits or scratches would remain visible.
How do you apply a small clear epoxy lacquer repair without visible defects?
Mask the area, mix accurately, strain the coating if permitted, apply thin even coats within the recoat window, avoid over-brushing and remove masking before the coating fully hardens.
When is epoxy clear lacquer the wrong repair choice?
Use another system when the surface moves significantly, the repair faces sustained sunlight without UV protection, temperatures exceed the product limit, or the substrate is incompatible.